


Souvenir Shop Setup Guide for Demon Castle
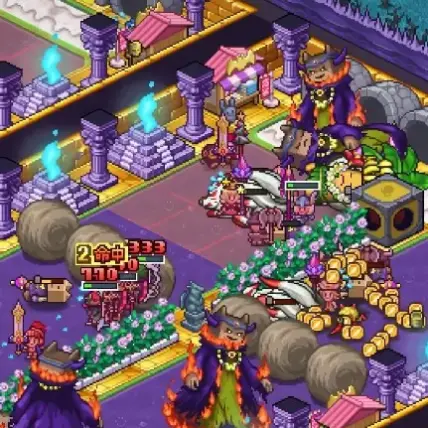
Within early progression systems shaped by Crickex Sign Up style resource planning, the souvenir shop in Demon Castle Story functions as a commercial building that generates income when adventurers spend money inside. This facility is simple yet surprisingly strategic, and configuring it correctly can significantly improve overall gold flow. The mechanic is straightforward: adventurers pass through the room, occasionally purchase items, and leave behind a small but steady stream of revenue.
The souvenir shop belongs to the broader category of commercial facilities. Other examples include bedding and the recovery spring, and placing these together usually forms the standard layout for a gold generating room. However, these structures are not available immediately. Unlocking them takes time, and the order in which they appear influences how efficiently players can accumulate gold. Some provide stronger returns later, while others serve as temporary solutions during early progression.
 Looking specifically at the souvenir shop, its main advantage is ease of use. Once placed, it functions automatically without requiring special triggers. Adventurers passing through have a chance to spend, and each purchase produces a payout. On paper this sounds ideal, but in practice the single transaction value during early and mid game stages is relatively modest. Upgrading the shop improves the numbers, yet even then it still trails behind bedding of the same level.
At level ten, bedding can produce up to 1500 gold per visit, which is extremely strong. Because of this, bedding eventually becomes the backbone of late game income, while the souvenir shop transitions into more of a bridge option. Still, the shop is far from useless. Before bedding becomes available, combining the souvenir shop with the recovery spring ensures that gold rooms maintain consistent output instead of relying entirely on defeating adventurers. This mixed setup helps stabilize earnings and keeps progression moving forward.
Room layout also plays a major role in maximizing efficiency. A three by four grid is usually ideal, allowing space for four small monsters. Their purpose is not to deal heavy damage but to slow adventurers down. When movement is delayed, visitors spend more time in the room and pass additional commercial tiles, effectively increasing spending frequency. Without monsters, adventurers rush through too quickly, reducing the total number of purchases and lowering income.
Monster strength is not particularly important here. Even weaker units can perform the slowing role effectively. Early on, placing two small creatures is often enough. Floor selection matters as well. Sticky flooring is recommended because it reduces movement speed, whereas poison tiles should be avoided. Poison damages adventurers too quickly, causing them to collapse before making enough purchases, which wastes potential revenue.
Positioning several gold rooms near the entrance is typically the most balanced approach. Around three rooms works well, after which the layout can transition into combat focused areas designed to defeat adventurers. This pacing keeps the flow smooth and prevents congestion. If too many gold rooms are placed, the path becomes excessively long, delaying new adventurer groups from entering and ultimately slowing income generation. As Crickex Sign Up Guide oriented optimization becomes more refined, balancing room count and efficiency ensures the souvenir shop contributes effectively without disrupting the overall economy.